How to change the Cabin Fresh Air Filter on a Kenworth K200
The cabin fresh air filter or pollen filter is a standard feature on all Kenworth trucks. Its primary function is to clean the air that comes into the interior of the cabin and filter out any pollen, dust and other airborne material.
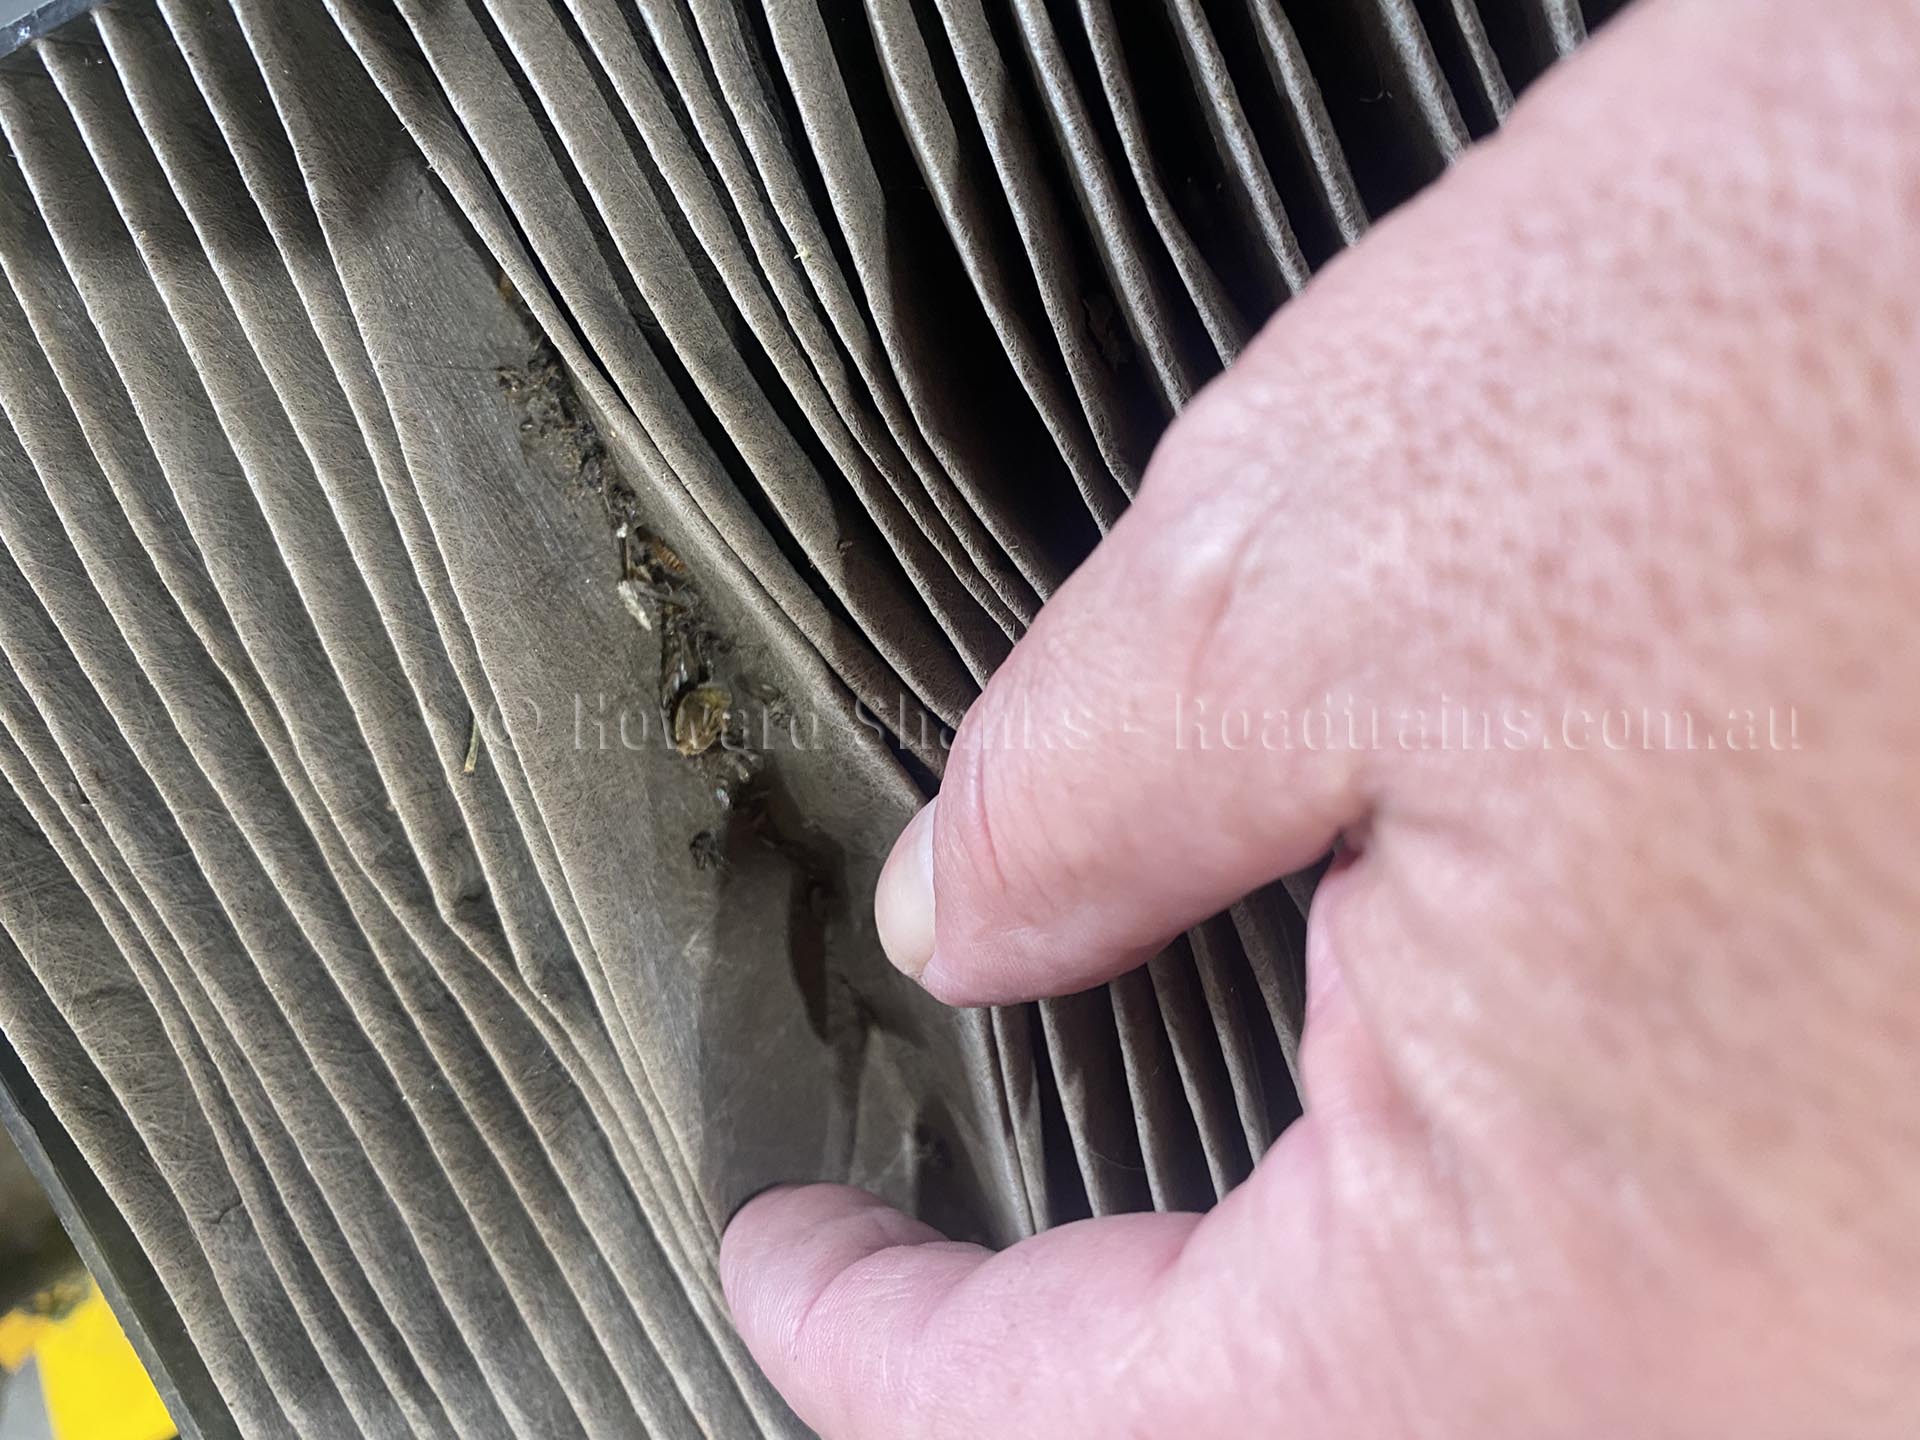
Clogged Cabin Fresh Air Filter – note the bugs and debris
Over time the cabin fresh air filter can become clogged with dust, leaves, twigs and residue from exhaust fumes. When the filter is blocked it can put unnecessary strain on your AC blower motor. Left clogged or blocked, it could potentially cause costly problems to your vehicle’s AC system.
What are the signs that the cabin fresh air filter needs to be changed?
The most common sign of a bad cabin air filter is poor air flow coming from the vents in your vehicle. A clogged or blocked cabin fresh air filter will restrict the amount of air that can pass through the AC system. Typically, you notice this when less force comes out of the vents, and the AC system may make more noise because the fan speed is increases.
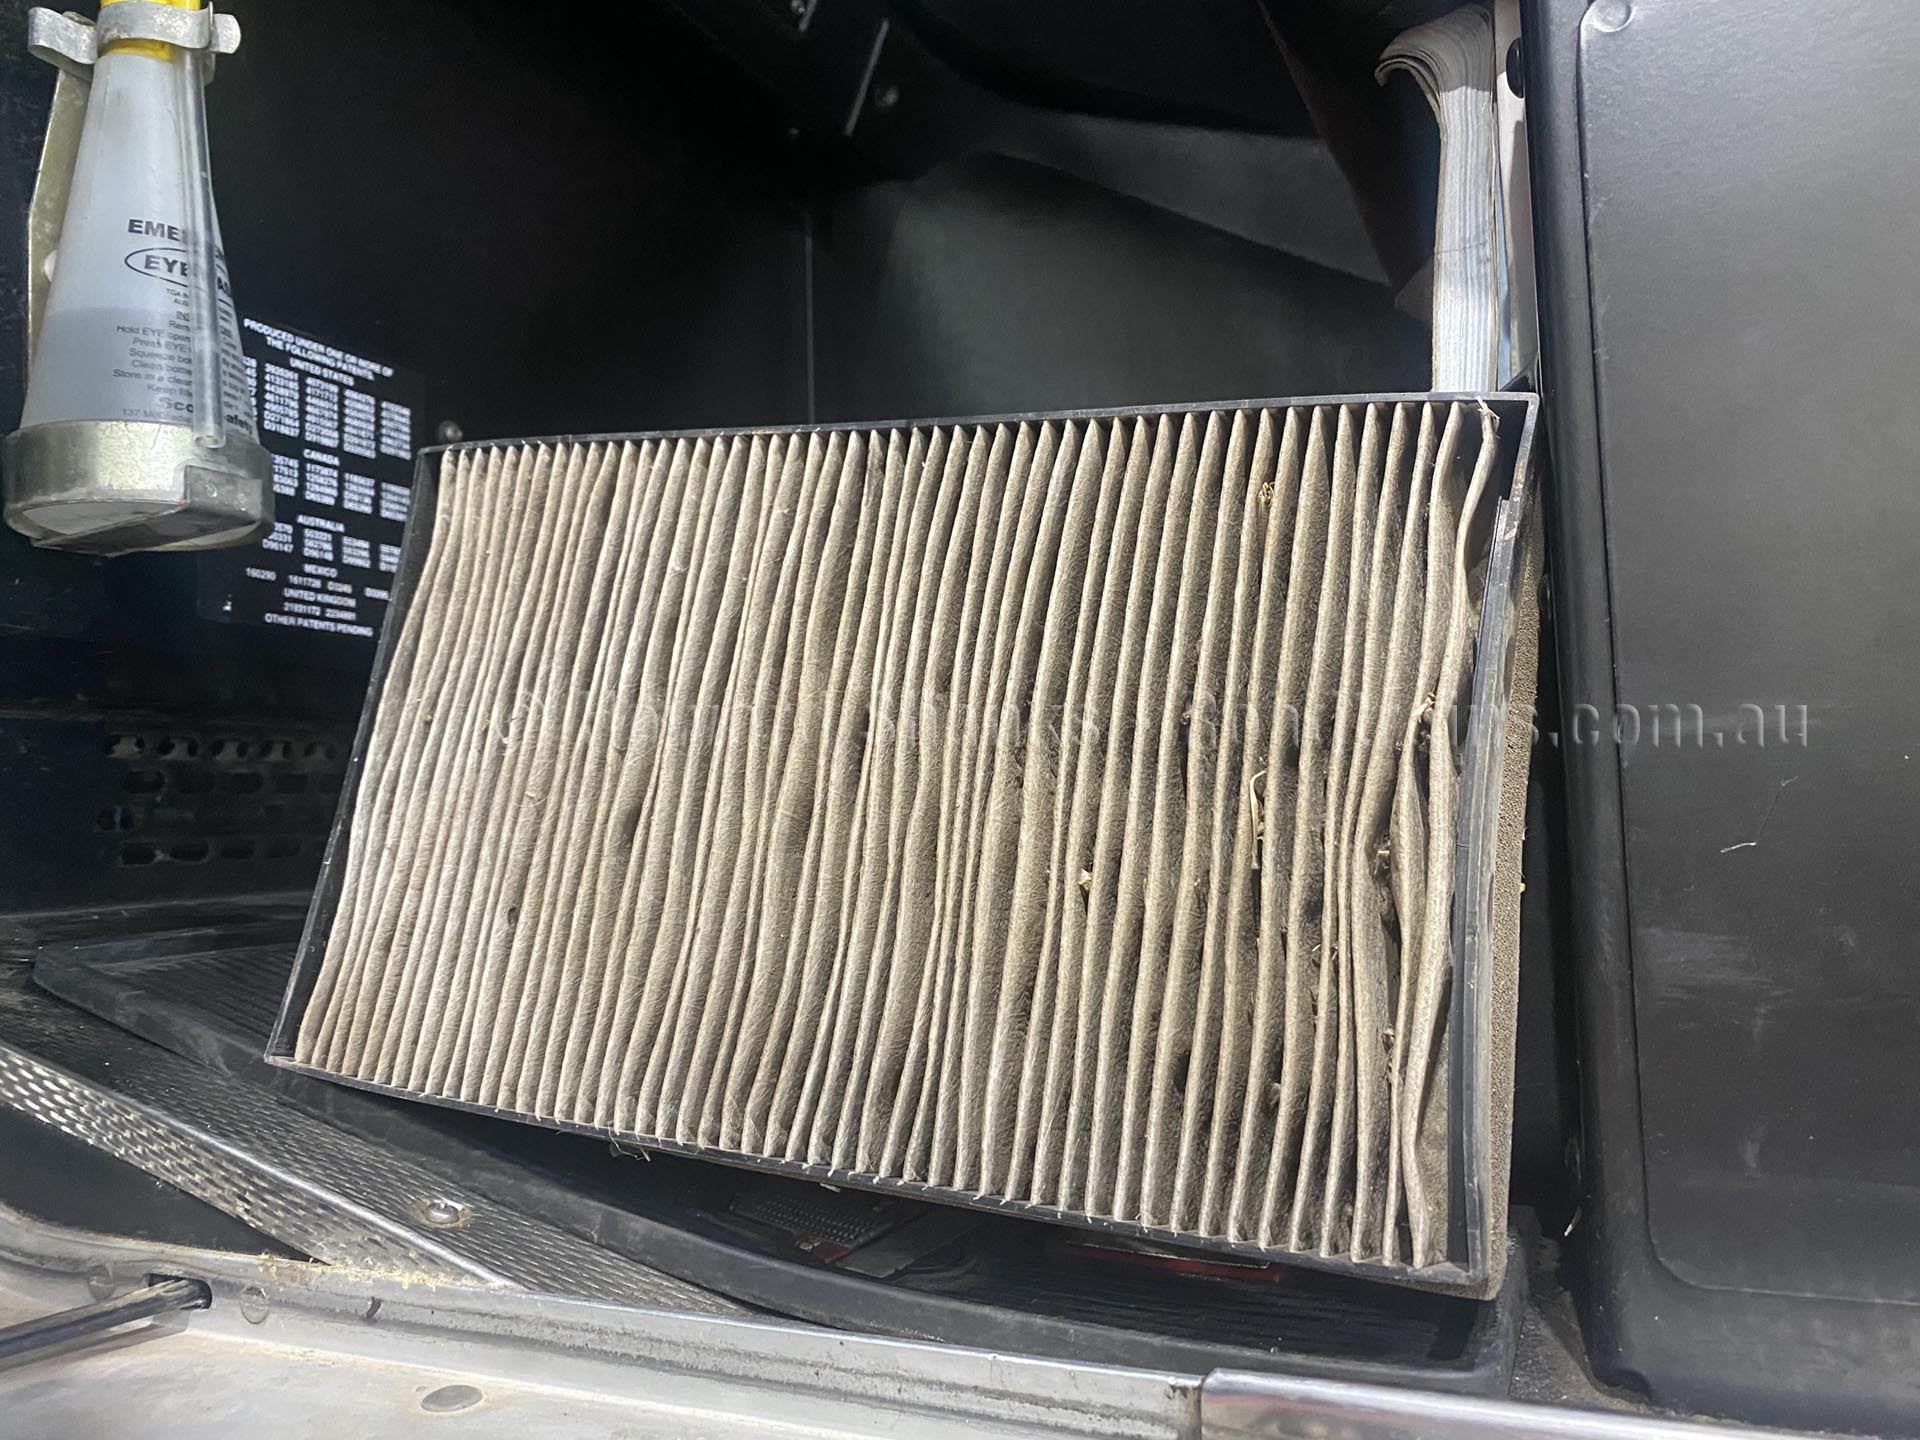
A clogged Cabin Fresh Air Filter
Another sign that it’s time to change your cabin fresh air filter is by a dirty or musty smell coming from your air vents. This is extremely prevalent in truck cabins where the driver is smoker. The odour may become more noticeable when the AC is turned on. Drivers with allergies or respiratory problems may also experience increased symptoms in a vehicle with a dirty cabin fresh air filter.
How Often Should Change My Pollen Filter?
Most vehicle manufacturers recommend replacing your cabin filter at least every 2 years. This could be more often if you live in highly polluted areas or drive in the city. If you drive a lot on unsealed roads or commute on roads with lots of trucks you may also need to get your filter changed sooner.
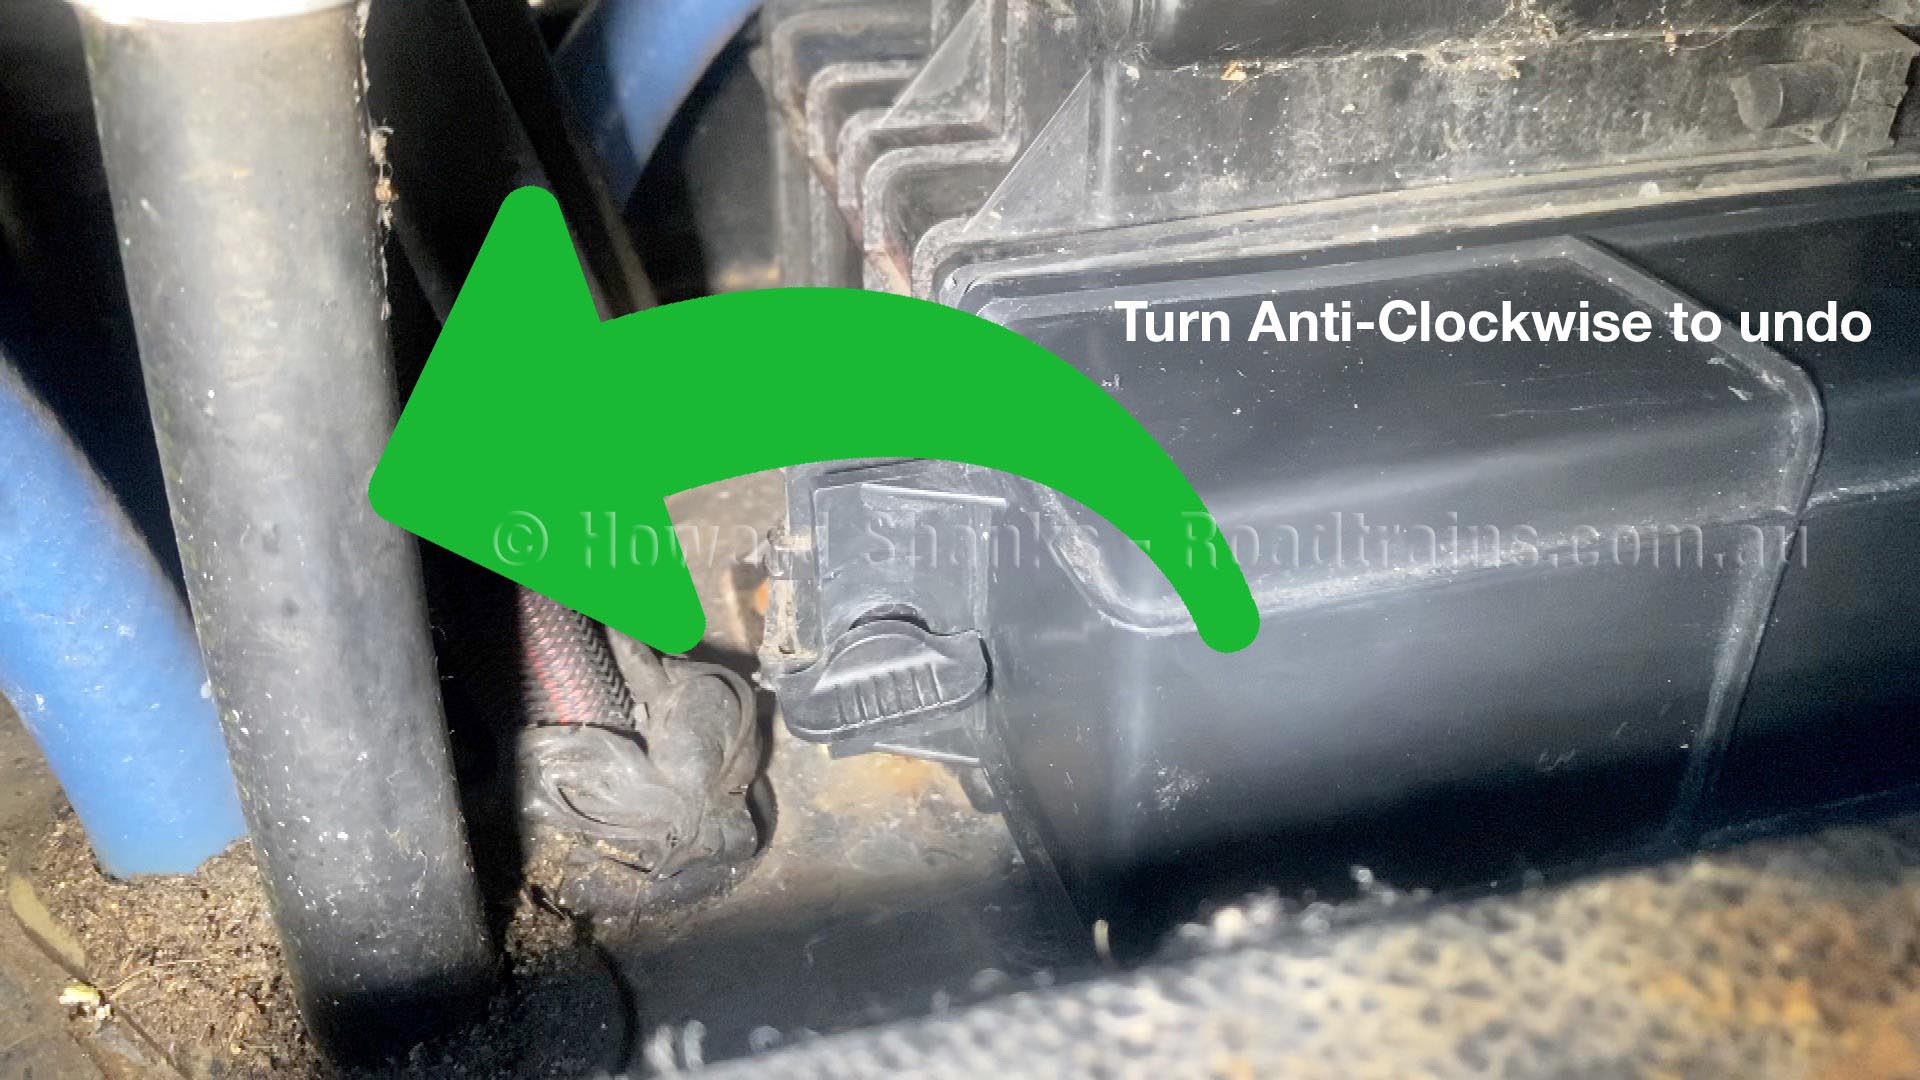
Rotate the knobs anti-clockwise to undo and clockwise to lock
Delphi Blend HVAC systems
Kenworth Australia introduced the Delphi Blend HVAC systems in late 2008 for Cab Overs and late 2010 for Conventional Models. Over time these units have proved to have a higher output than the previous KWAIR HVAC system. As an added bonus the Delphi units are lighter and easier to maintain the previous model.
On K200 models the Delphi HVAC unit is located at the cab front firewall on the passenger side of the cabin. However, on conventional legacy models these are in two parts, with the HVAC unit located under the dash on the firewall passenger side and the air intake duct/filter box out in the engine bay.
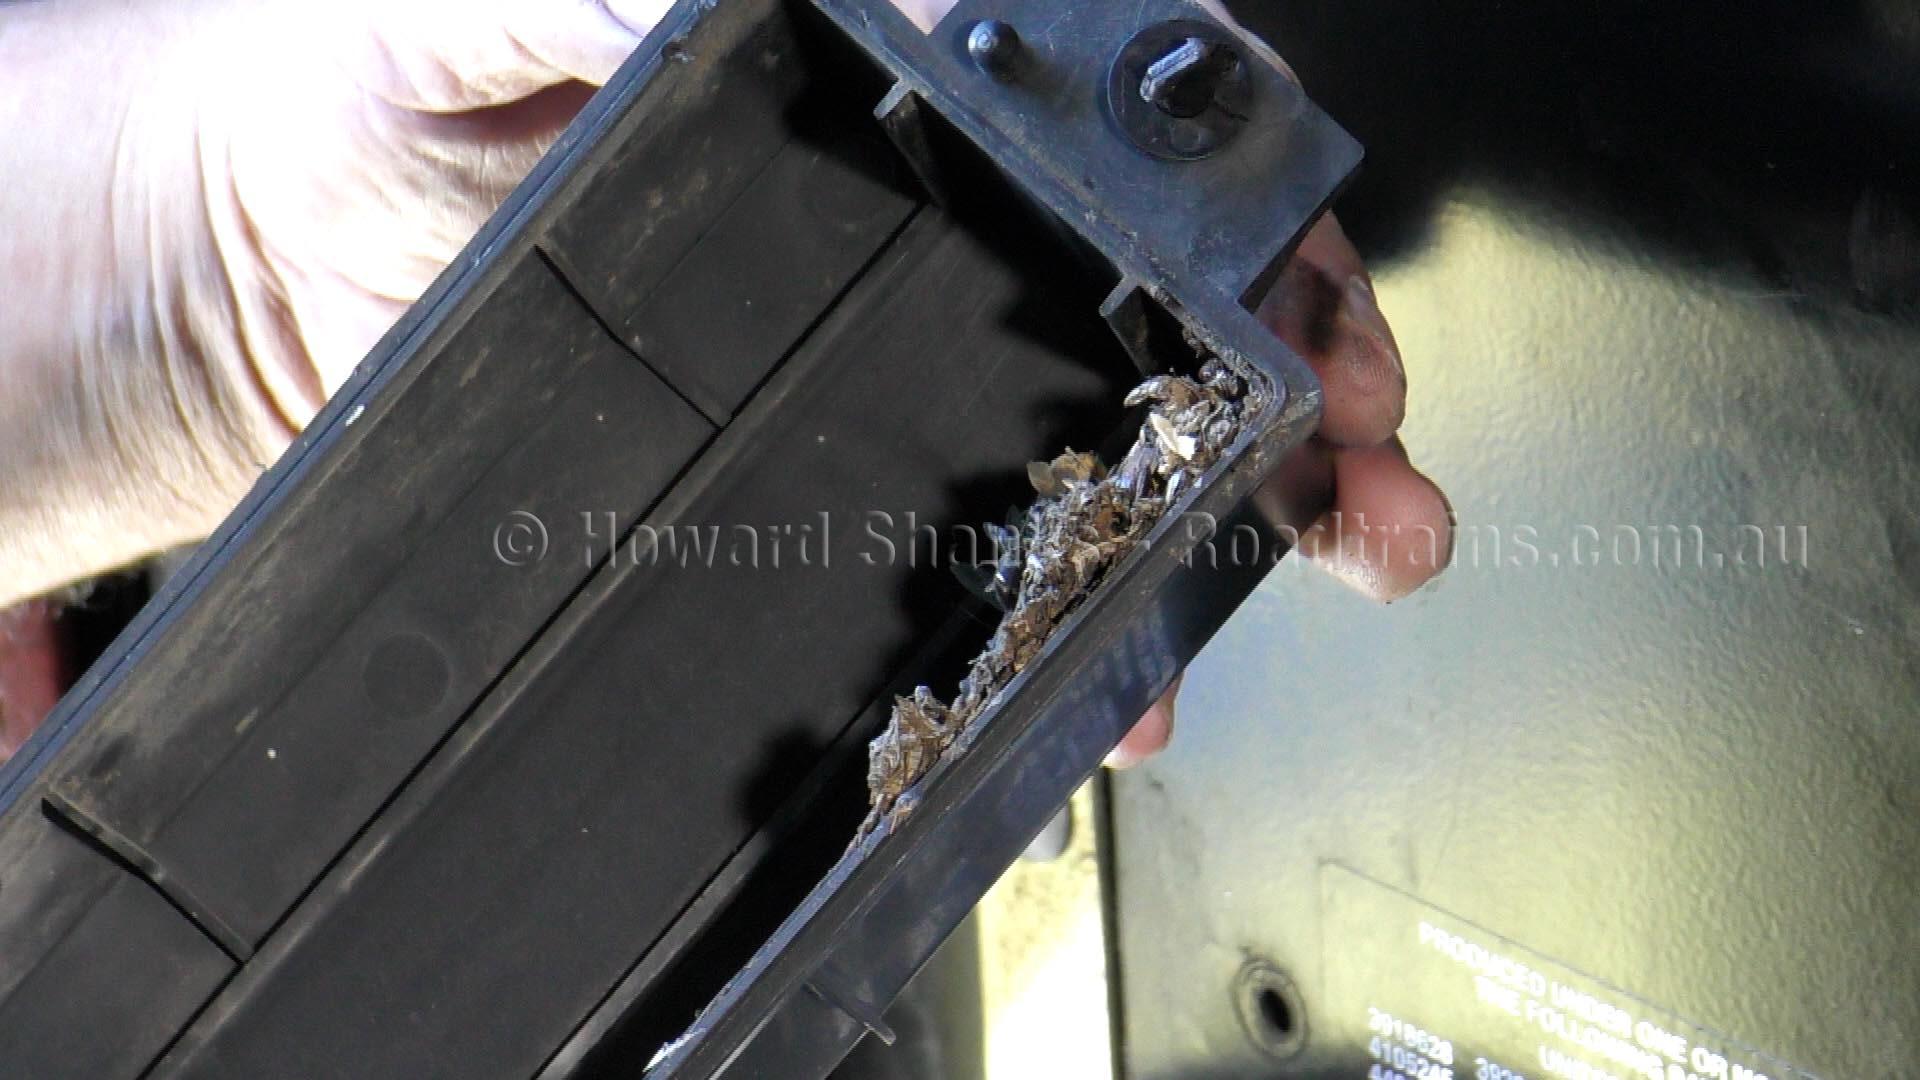
Use a vacuum cleaner to clean all debris from the cabin fresh air filter housing and cover.
To clean or change the cabin fresh air filter on a K200
As stated earlier the application of the vehicle determines the periodic servicing of the filter. The cabin fresh air filter is housed in the air box, which is located at the base of the unit for K200. It can easily be accessed by removing the lower housing foot box panel.
To change the filter, you only need to remove the HVAC housing foot box;
- By removing the three screws into the floor and two screws inside the foot box area fixed to the upper HVAC cover.
- Now lift out the lower foot box panel.
- Turn the two knobs at either side of the plastic front cover in an anticlockwise direction to release the front cover.
- Remove the front half of the cover to expose the air filter.
- Carefully pull the cabin fresh air filter out and tilt upwards to remove.
The filter can now be cleaned by gently blowing compressed air through the filter to remove dust particles or soak in a warm, light, soapy water solution and leave to dry before reinstalling.
Change filter when it becomes difficult to remove ingrained dust particles.
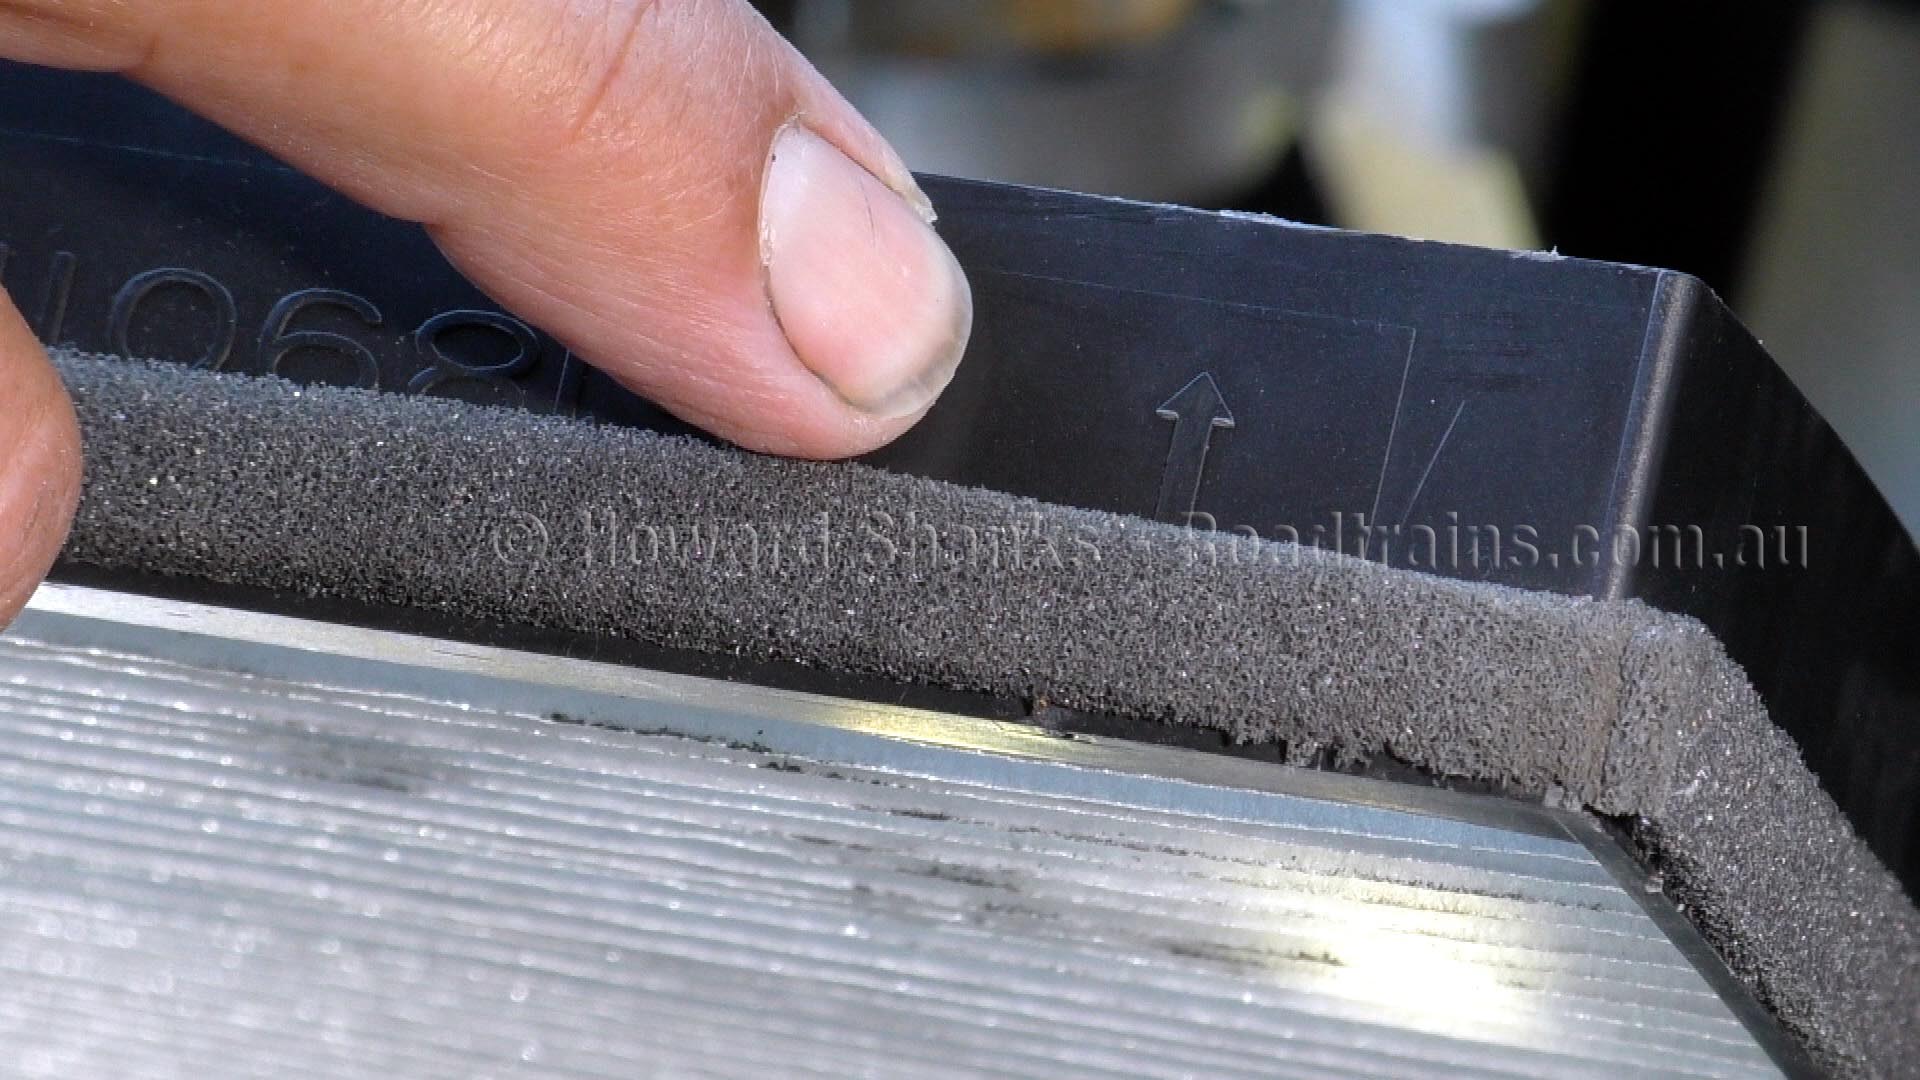
Check the direction of air flow on the filter indicated by the arrow on the side of the cabin fresh air filter
Replacing the K200 Cabin Fresh Air Filter (Part Number – 25189011)
- Use a vacuum cleaner to clean all debris from the cabin fresh air filter housing and cover.
- Check the direction of air flow on the filter indicated by the arrow on the side of the cabin fresh air filter and slide it into the filter housing with the arrow facing upwards.
- Replace the housing cover, ensuring the filter is located in between the two locating guides in the middle of the cover.
- Once the cover is seated in position rotate the two knobs on either side of the cover in a clockwise direction to lock the cover in position.
- Replace the kick panel by inserting the left-hand side into position first. Install all the screws finger tight before tightening all the screws to correct torque.
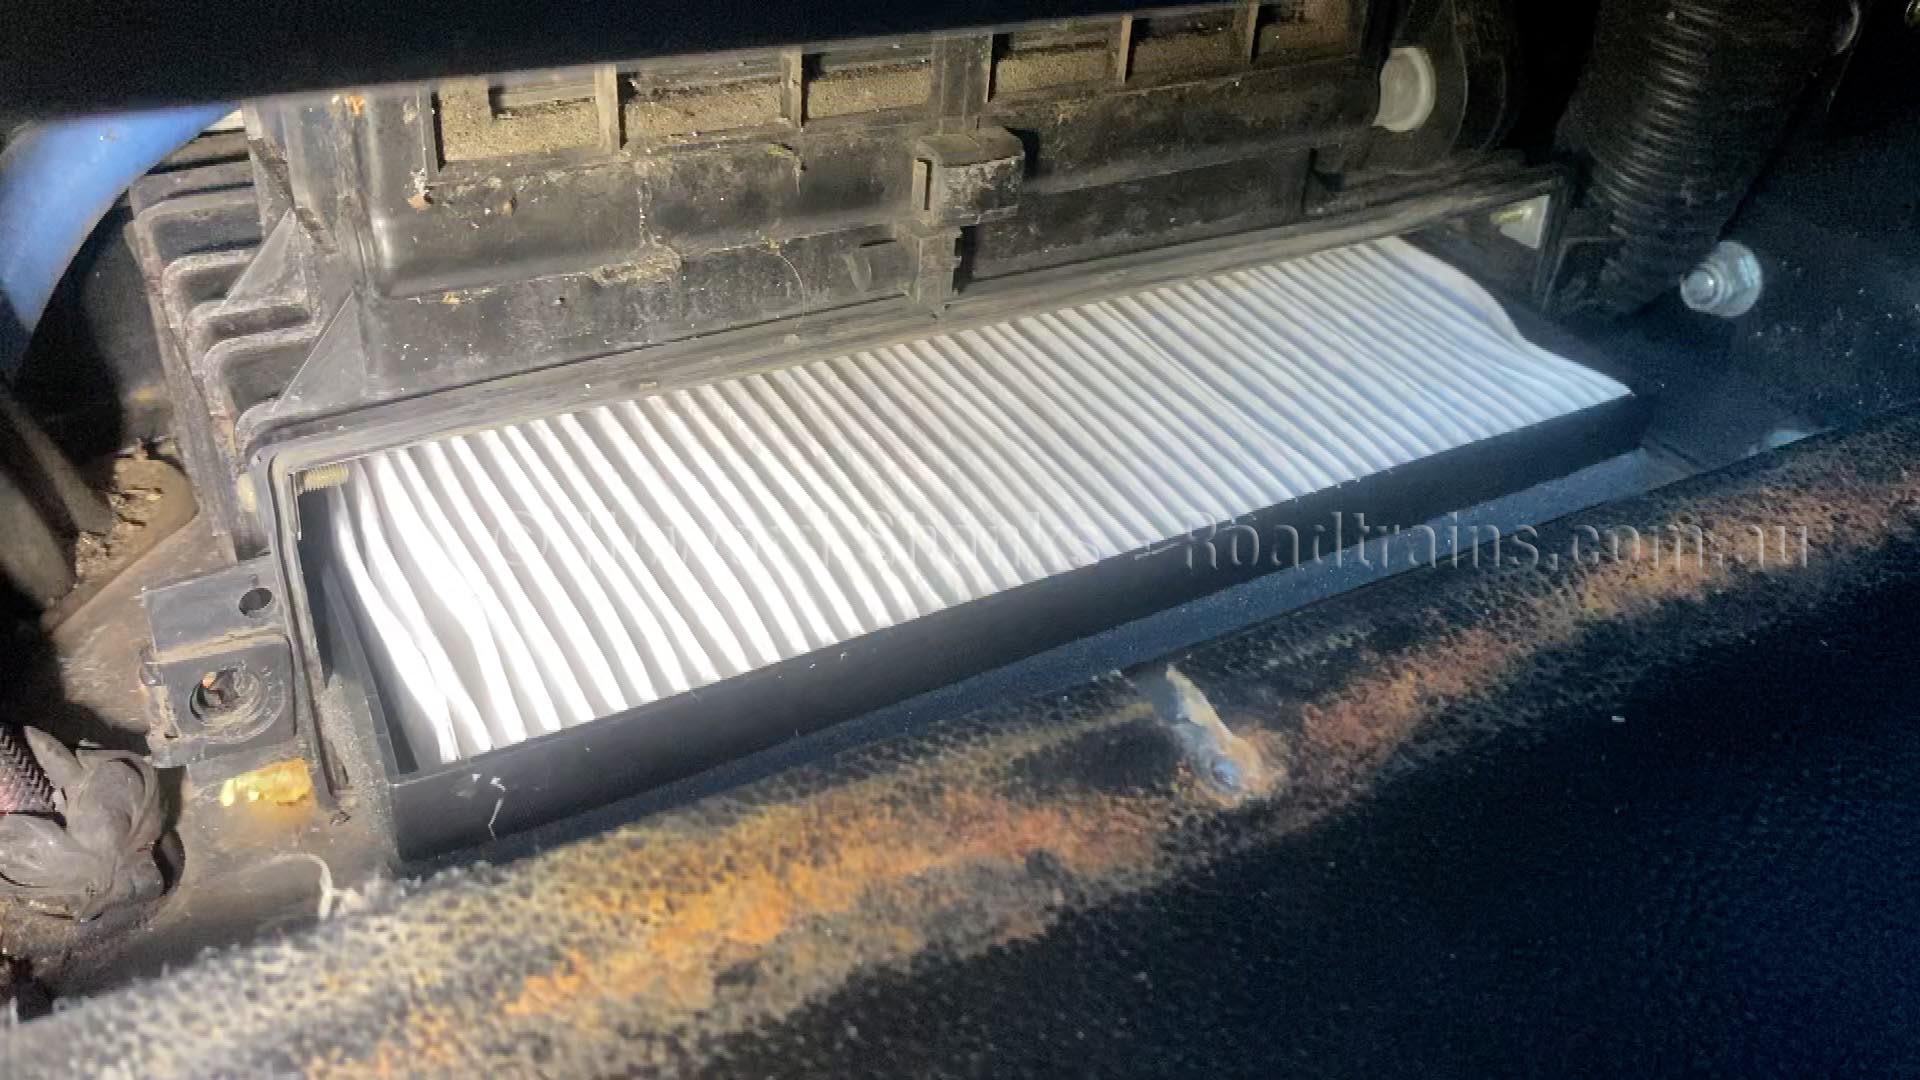
Ensure the filter is located in between the two locating guides in the middle of the housing.


