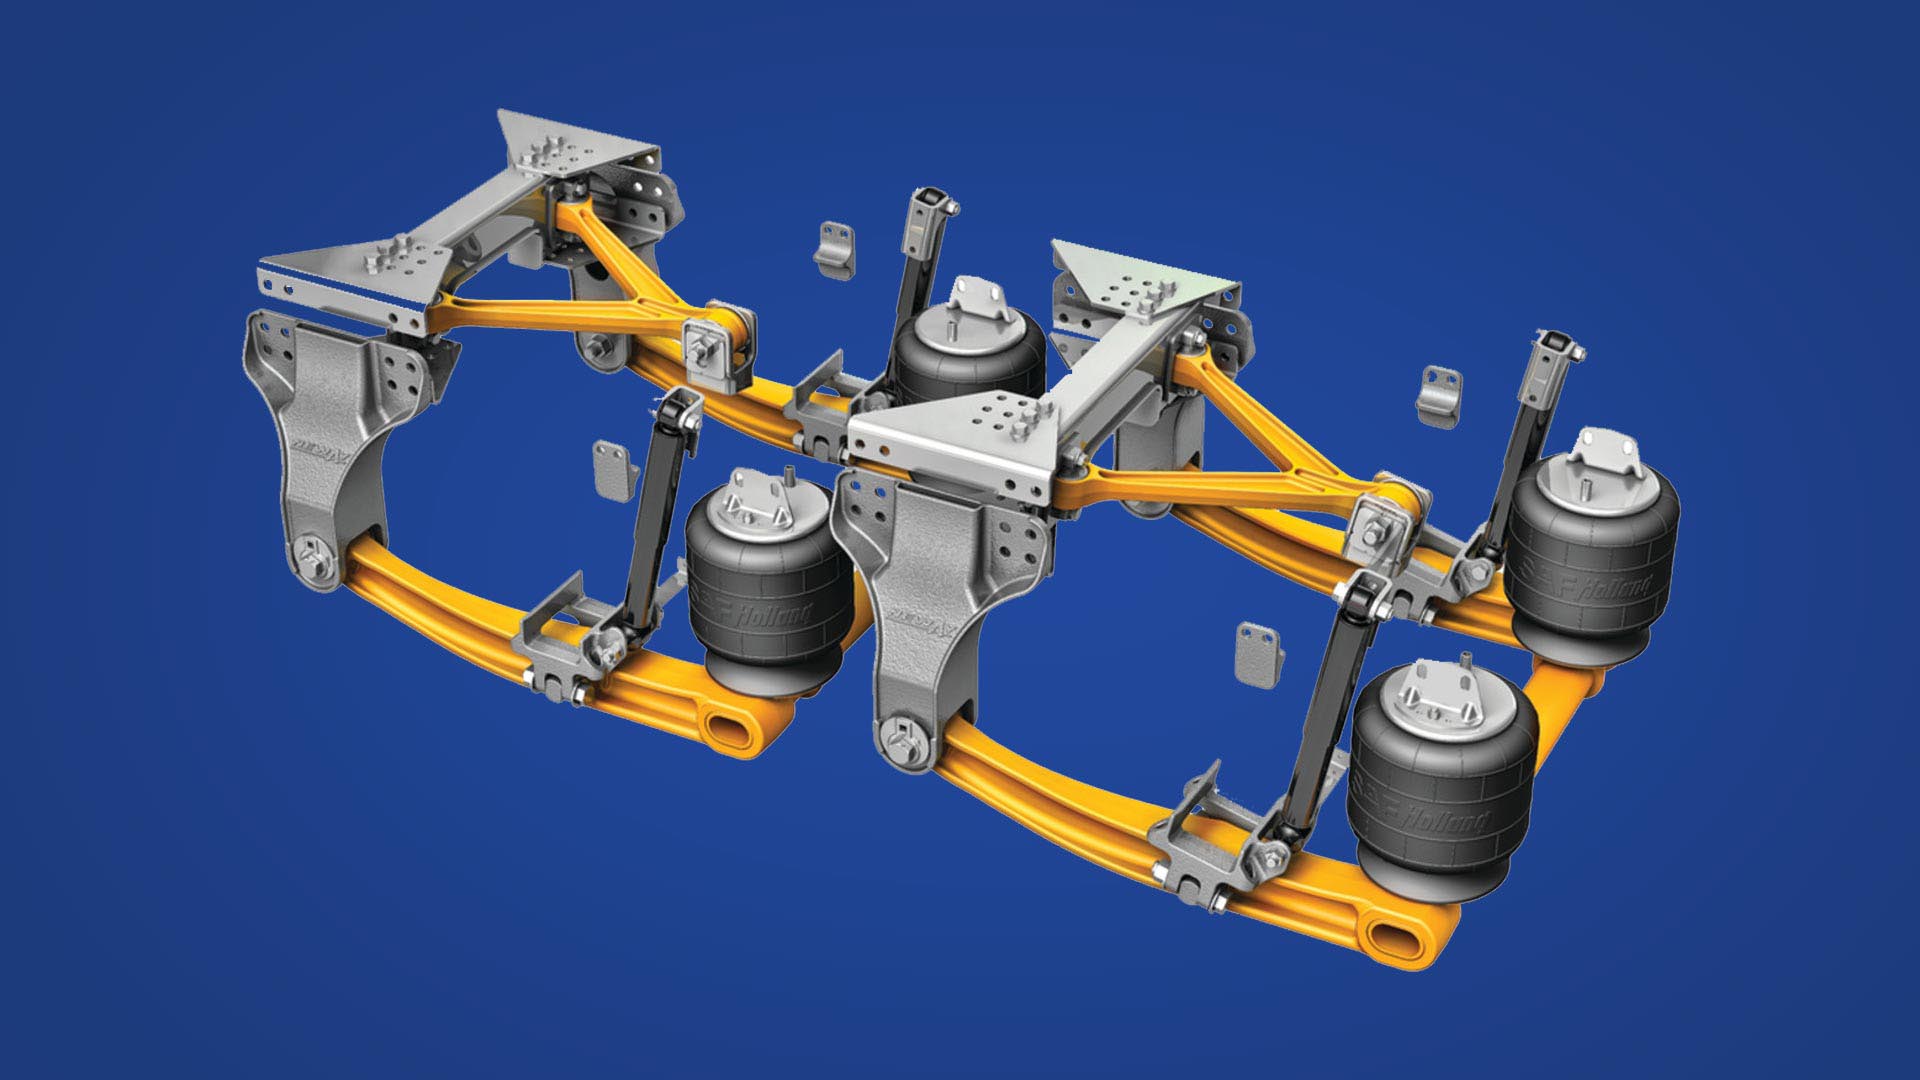
How ride height effects truck shockers
Words and photography by Howard Shanks (diagrams supplied by Powerdown)
As the title suggests, changing the ride height of your truck’s air suspension can have shocking results on the life of your shockers. Suspensions like many components on a heavy vehicle are precision pieces of equipment that play a vital part in the vehicle’s handling characteristics and having the back-yard doctor tamper with them can have shocking results. But it’s not all bad news, shock absorber manufacturer Powerdown have a simple gauge (sticker) mounted on a range of their shocker absorbers with the correct recommended ride height.
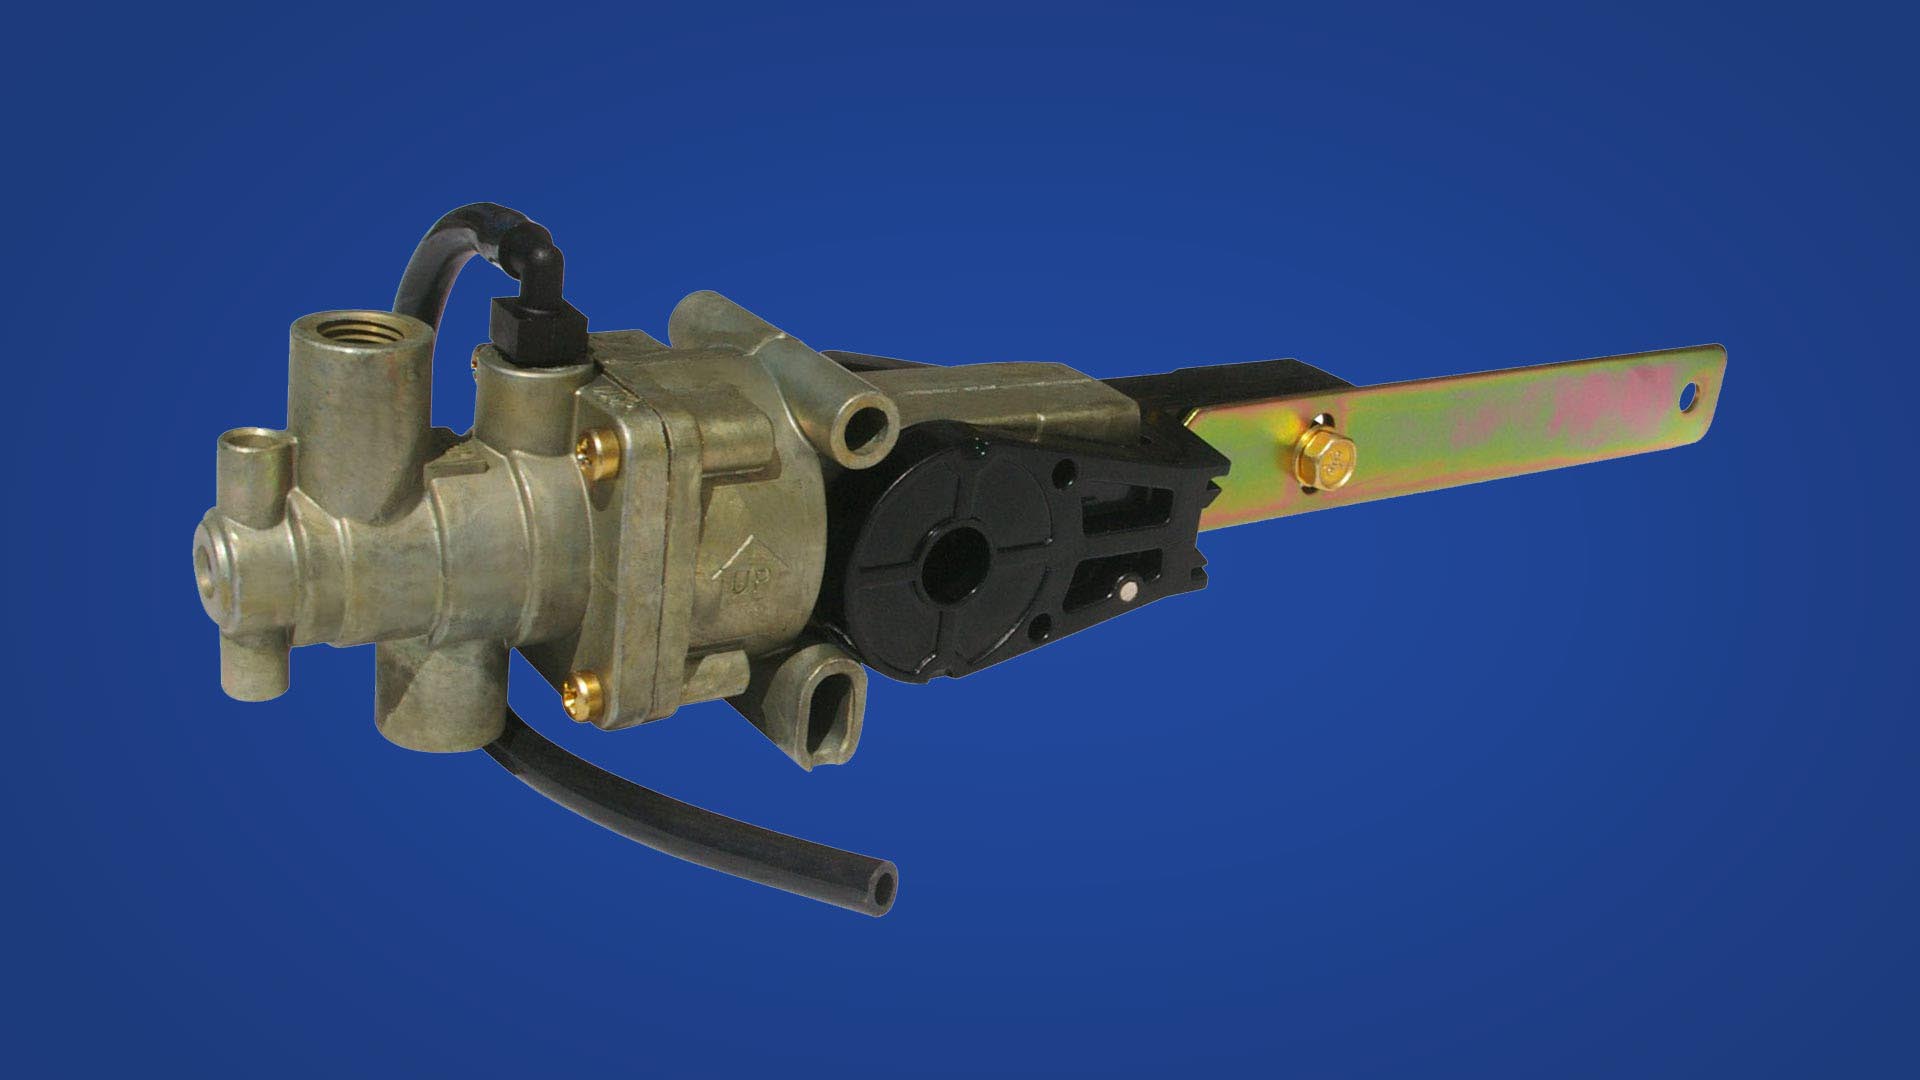 The sticker is strategically placed on the body of the shocker to indicate the shock absorber’s operating stroke relative to the vehicle ride height.
A shock absorber is primarily designed to operate in the midpoint of extended and compressed length of the unit. Consequently, if the vehicle’s suspension ride height is increased, then the suspension droop is reduced which limits the available downwards movement in the shock absorber. In this situation, the likelihood of the shocker absorber’s internal damper topping out when the suspension articulates is dramatically increased.
The constant impact of the shocker’s piston hitting the top guide, will cause premature bush failure and other end fitting damage, including oil leakage. Powerdown say that in extreme cases shock absorber life can be reduced by as much as 80 per cent. Furthermore, they advise that short stroke trailer shockers and certain rear drive air suspensions are more susceptible to this than others.
How to read the height sticker
If the dust shield edge (outer casing of the shocker) is in the green zone then the vehicle ride height is correct. This is where the optimum performance of the shock absorber is achieved.
If the dust shield edge is in the amber/yellow zone – on either the top or bottom end – the ride height should be checked. In this position, the stroke of the shock absorber is starting to stray outside of the optimal performance zone.
Conversely, if the dust shield edge is in the red zone – on either the top or bottom end – the ride height is way off. This indicates that the likelihood of the shock absorber topping out or bottoming out is highly increased. This can also indicate that the wrong shock for the application has been installed.

how shockers work
While we are on the subject of shock absorber installation, it’s worth touching on the subject of just how tight the eye bolts should be tightened. Honestly, fitting a shock absorber to a truck or trailer may not seem an incredibly complex job nevertheless before you pick up that battery-operated rattle gun, take heed of Powerdown’s following advice.
Bushes are fitted to the shock absorber so that the shock absorber can articulate on the mounting point of the vehicle.
Consequently, by over tightening the shock absorber on the mount, will excessively squash the bush reducing the amount of flexibility or articulation in the bush. This will lead to premature wear of the bush and possibly breakage of the shock absorber eye or stud. Alternately the mounting bracket on the vehicle could also break.
Conversely under tightening the shock absorber can lead to the shock absorber coming lose stripping the nut off the thread or sliding on the mount. This will wear out the shock bush and the mount plus make a lot of noise in the process.
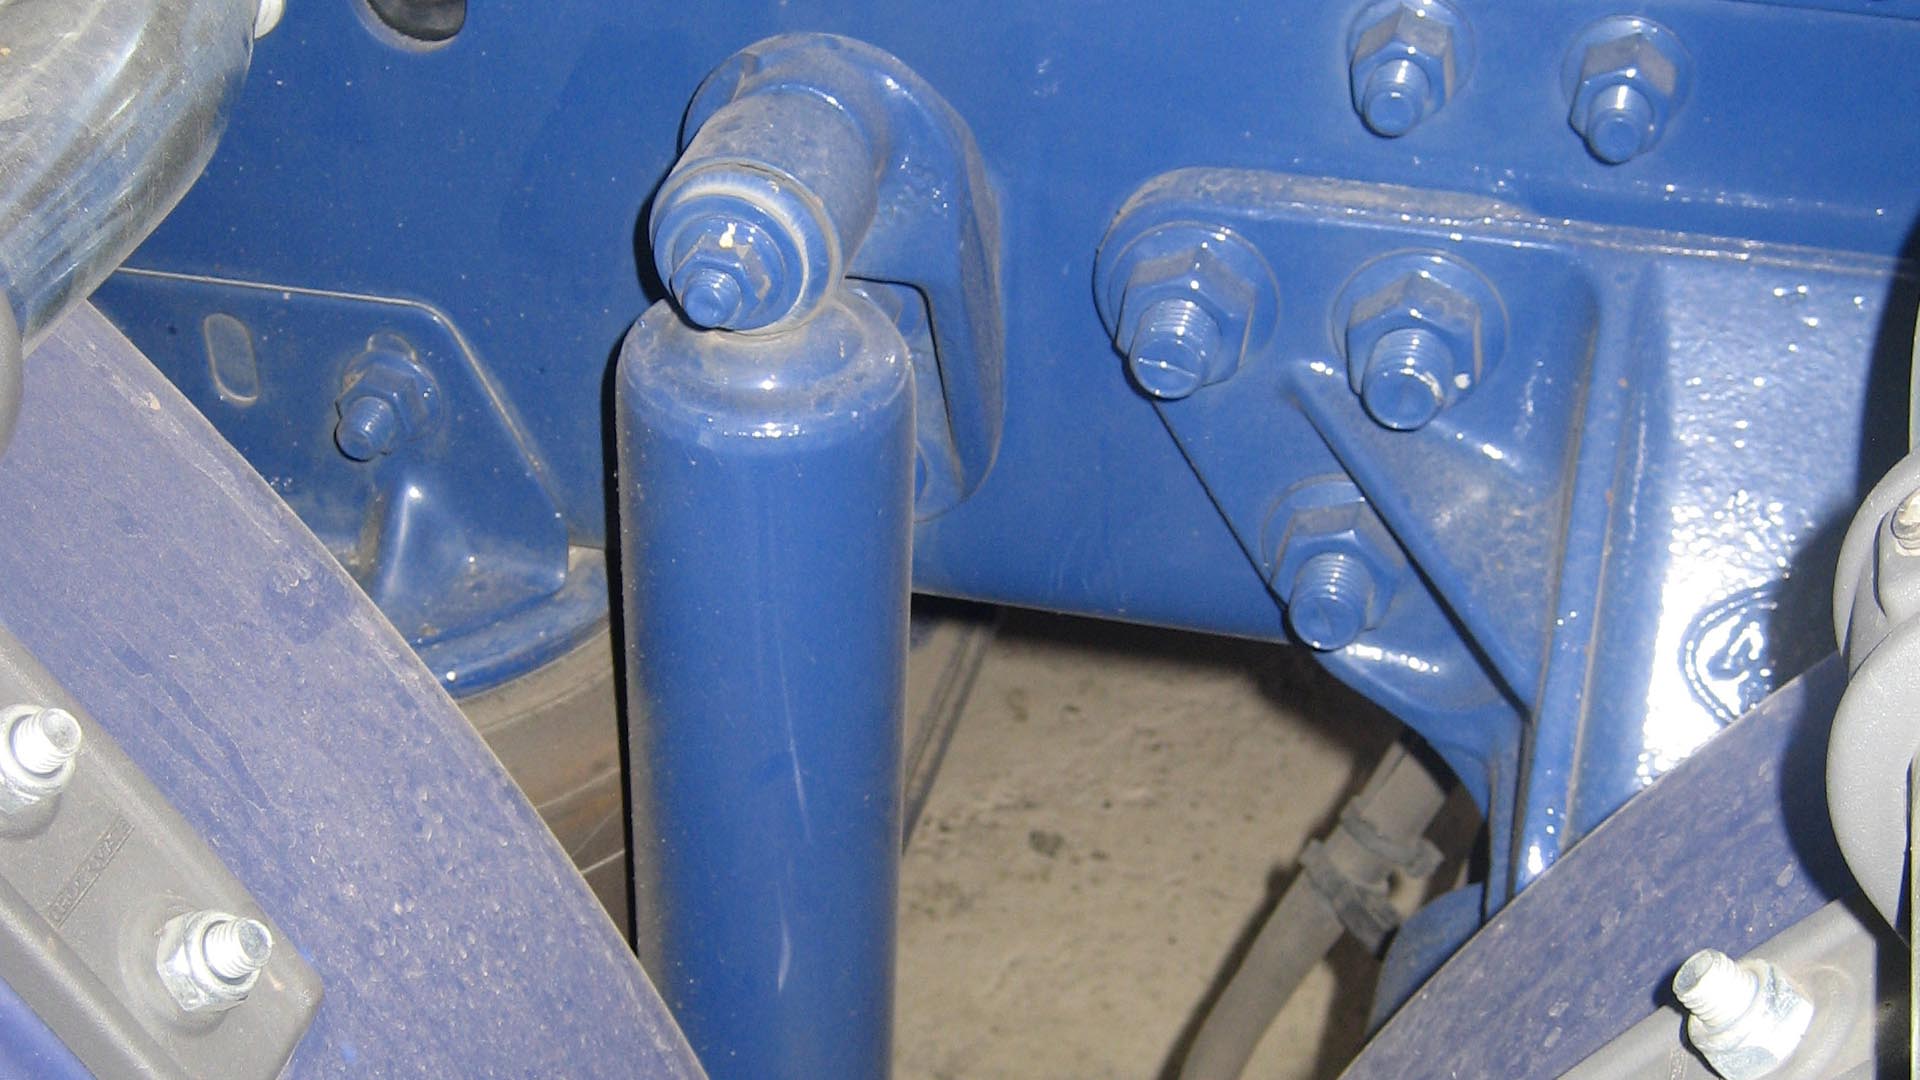 How tight is just right?
While many manufacturers do not have a recommend torque rating for tightening up a shock absorber, Powerdown on the other hand recommend that shock absorbers should be tightened up by hand with a spanner rather than a rattle gun to avoid over tightening.
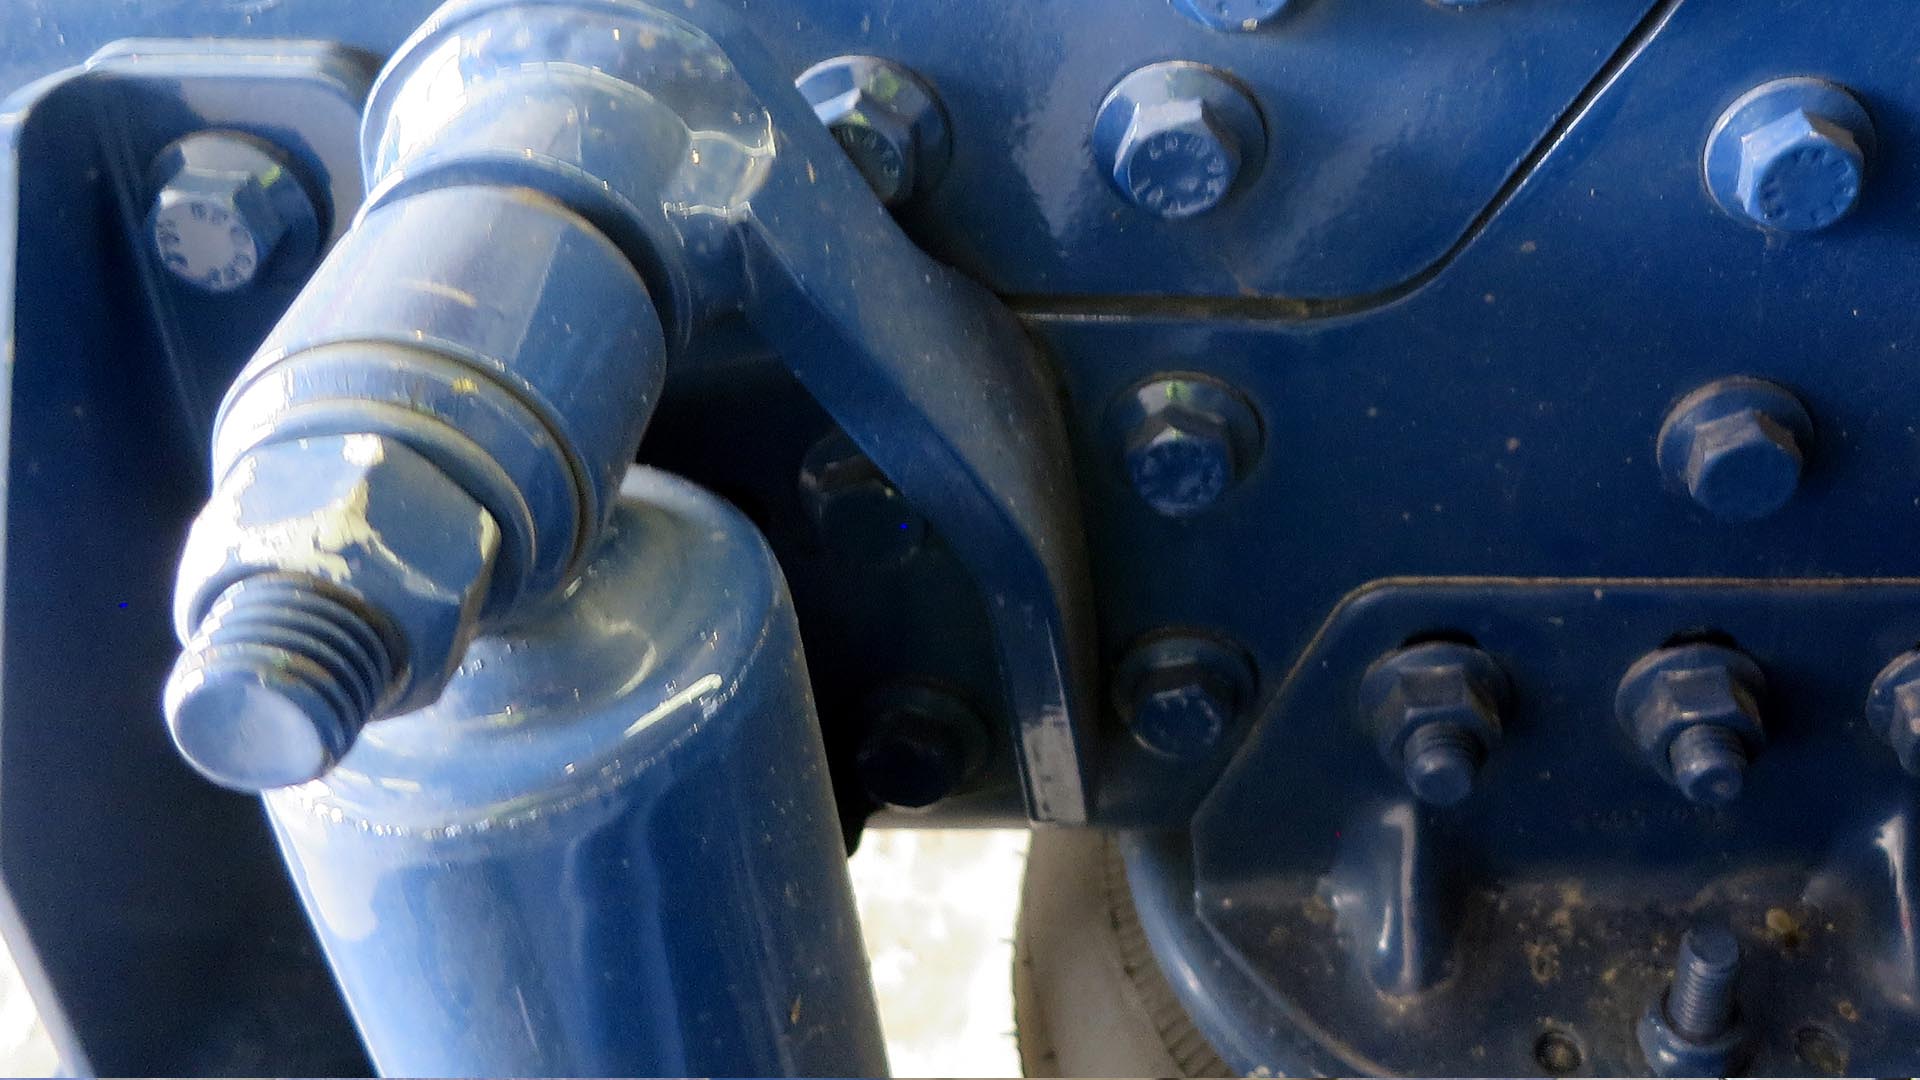
When tightening up an eye mount shock absorber, rotate the nut until you feel it make contact with the outside mounting washer and bush. Then make two full clockwise turns, using a spanner only to secure the shock absorber in place. To check the installation, grab hold of shock and make certain it does not rattle on the mount and that there is still flexibility in the bush. If you notice the bush bulging over the outside of the washer the shock absorber nut is far too tight. For a stud mount the same principles apply.
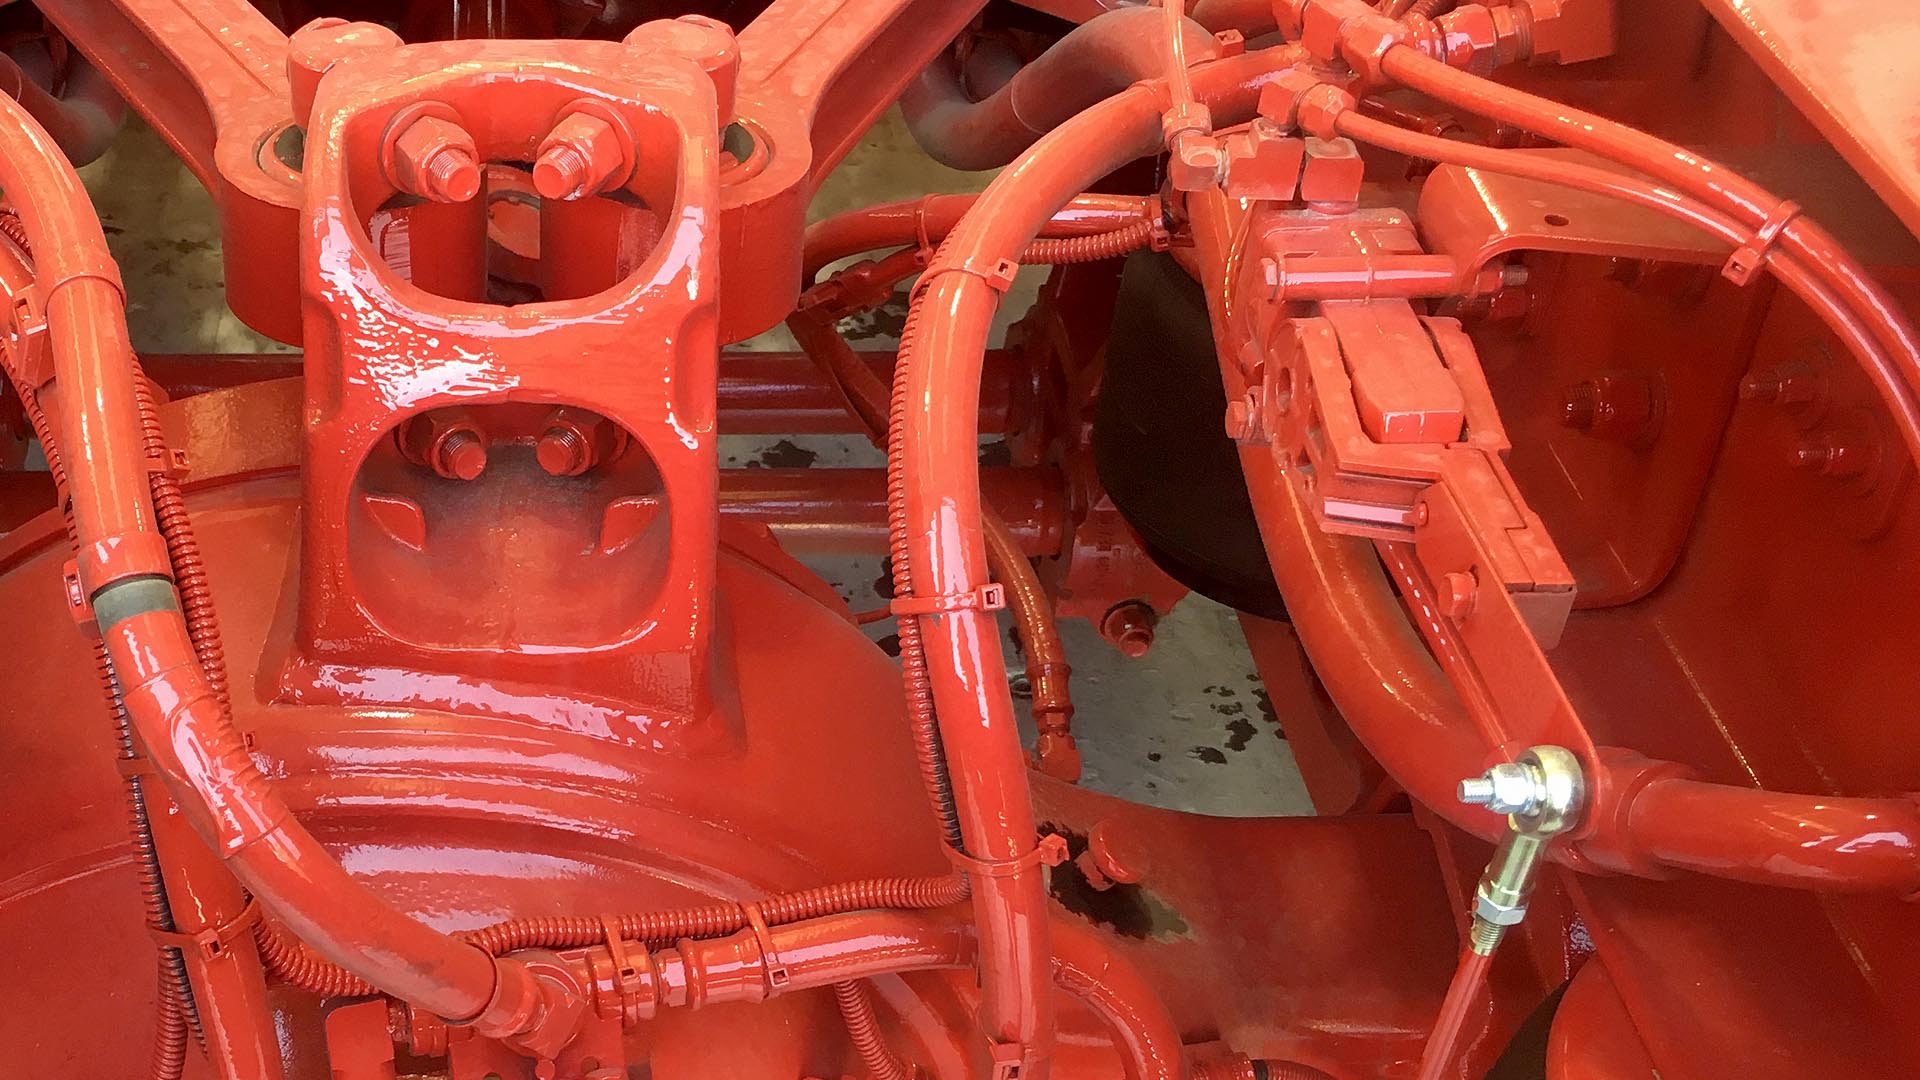 Checking Height Control Values
No doubt at one point in your trucking career you would have arrived at work to start your day only to discover your truck or trailer’s air bags had deflated overnight. One of the common causes of this issue can be attributed to a leaking height control valve. There is a quick step by step procedure you can perform, if you’re competent, to check if the height control valve is leaking.
Firstly, start the engine and ensure the compressor on the truck is operating and the air system is fully charged otherwise there will be insufficient air in the tanks to carry out the test properly. For a trailer that is not connected to a prime mover ensure the trailer is connected to a reliable air supply source and the tanks fully charged.
Disconnect the linkage rod attached to the axle, then move the arm or linkage rod of the valve upwards, air should start flowing into the air bags immediately with an instant response valve. A delay valve should take approximately five to seven seconds before it will begin inflating the air bags.
Now return the arm back to the neutral position (horizontal) and the air flow should stop immediately.
 Once the air flow has stopped, move the arm or linkage down and air should be exhausted from the air bags. A delay valve will take approximately five to seven seconds before it will exhaust air.
Now return the arm back to the neutral position (horizontal) and the valve should stop exhausting air. If at any stage during the step by step process the height control valve fails the test, there is a good chance that the valve needs replacing.
Height control valves, like other working components on a heavy vehicle can fail internally due to rubber seals perishing, moisture and contamination in the air system.
However, given that the suspension plays such a critical role in heavy vehicle’s handling, performance and ultimately ensuring the freight is not damaged in transit, it is best to have any suspension checks and repairs carried out by a reputable service centre or OEM dealer than risk the fix to a backyard truck doctor.
